
Charger Settings
Settings Menu
Access charger settings by tapping the gear icon on the charger dashboard.

Available options: Schedule charging, Customization, Communication (RFID, WiFi, OCPP), Charger sharing, Change station, Installer settings, Advanced.
---
Customization
Personalize your charger's behavior and appearance.
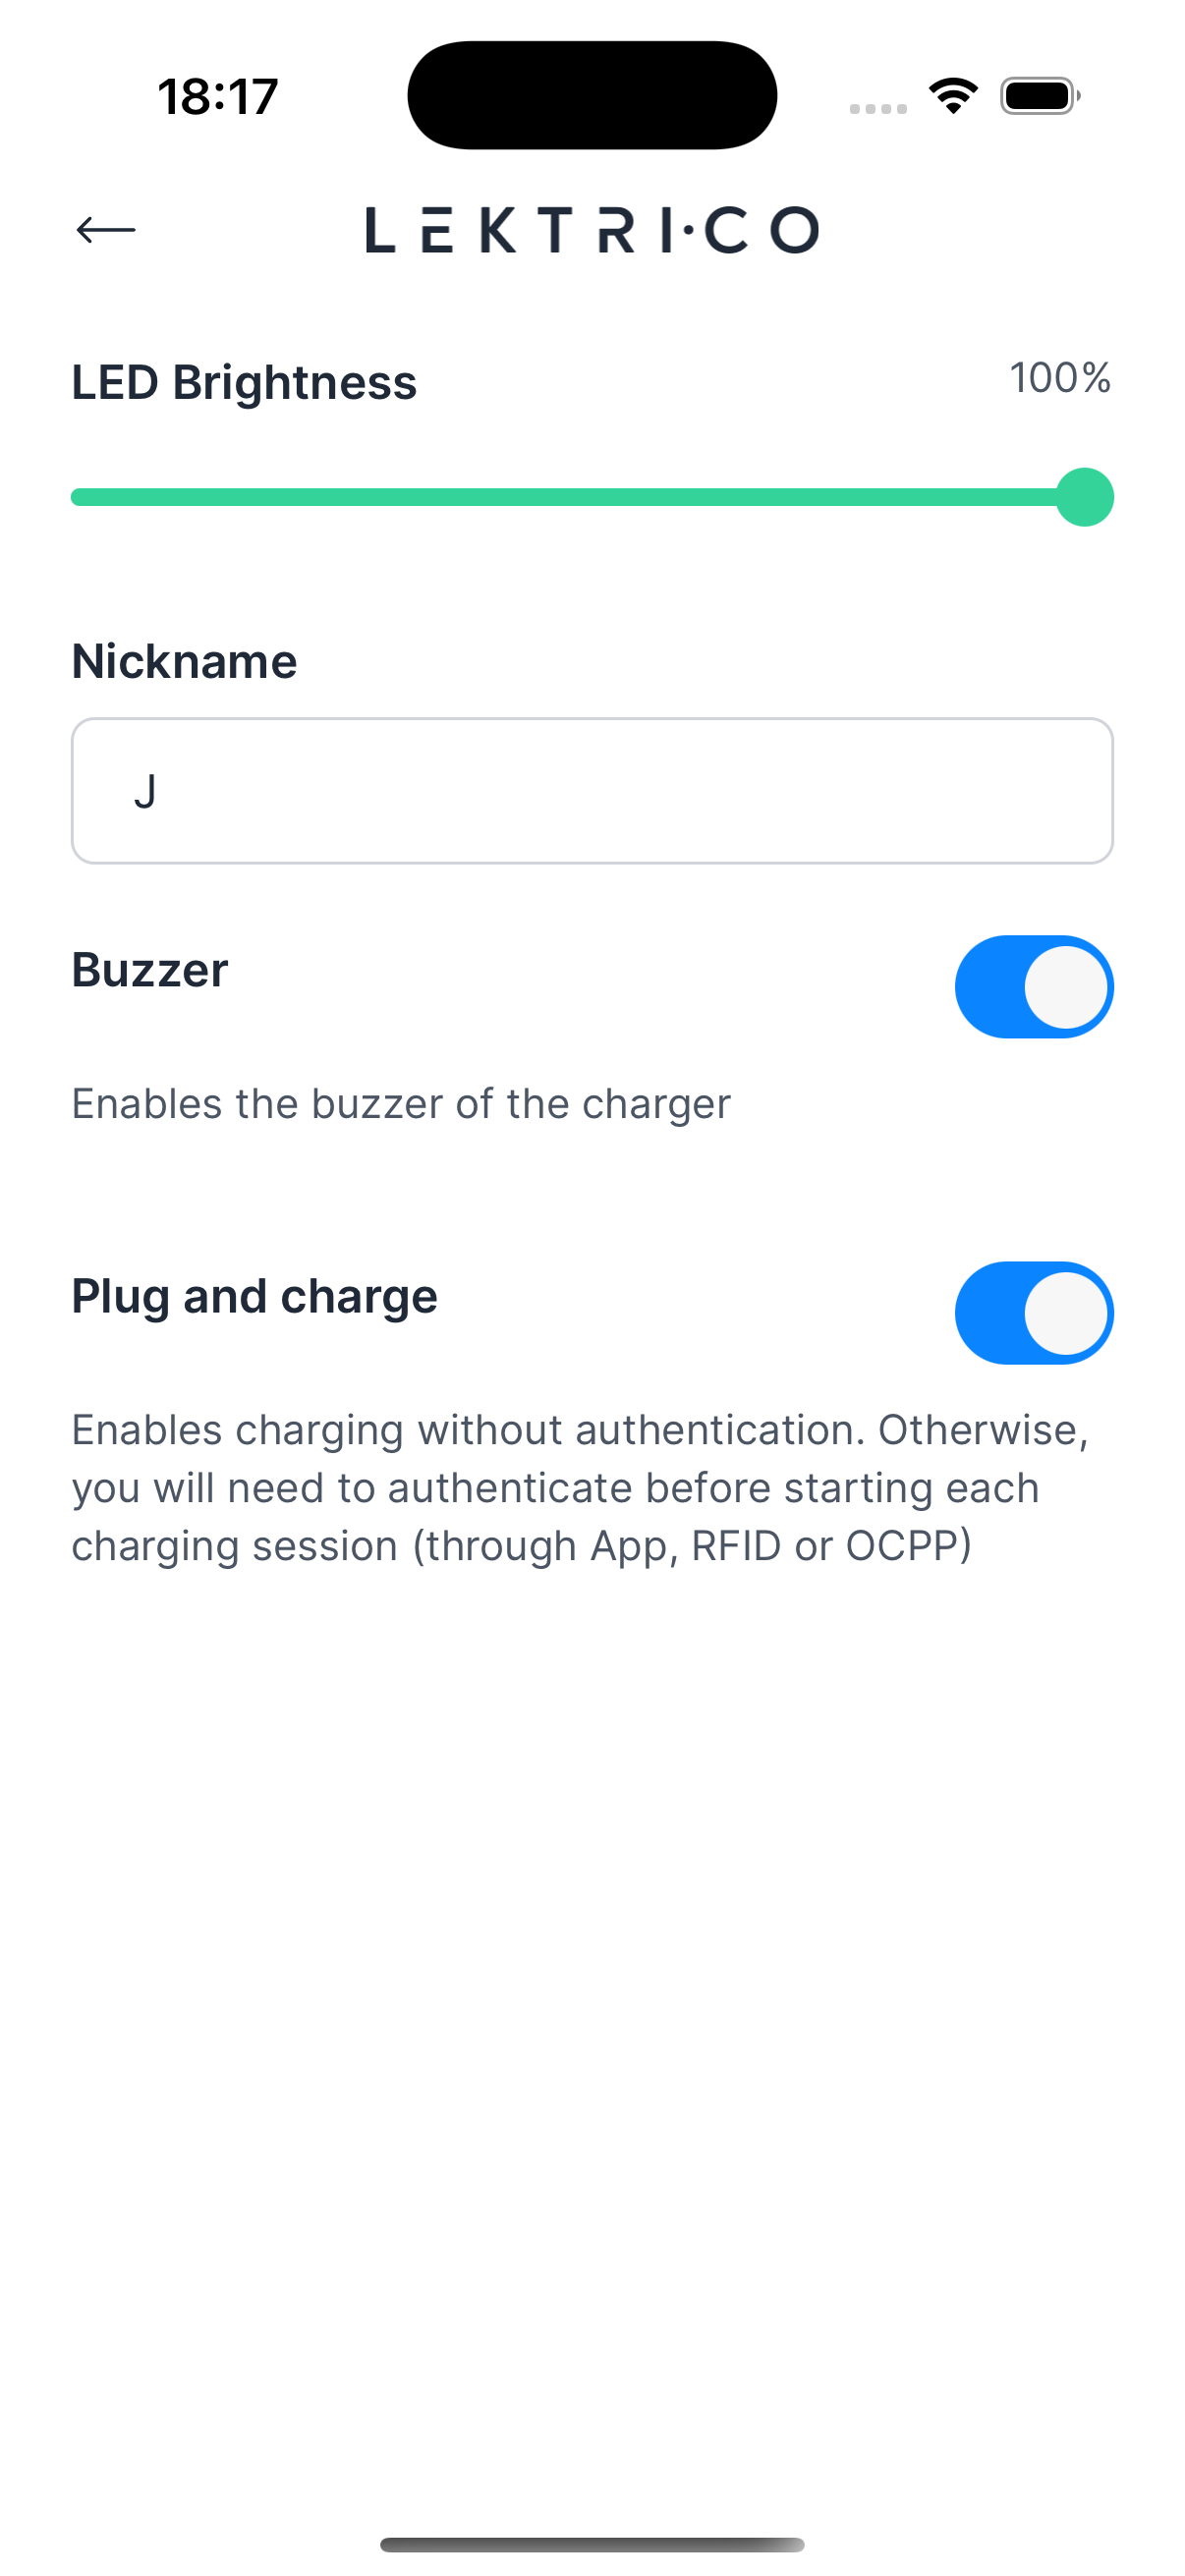
- LED Brightness — Adjust from 20% to 100%
- Nickname — Set a custom name for your charger
- Buzzer — Toggle the charger buzzer on or off
- Plug and charge — When enabled, charging starts automatically without authentication. When disabled, you must authenticate via the app, RFID, or OCPP before each session.
- Compatibility mode — Enable only if the charging current fluctuates during sessions (available on 1P7K models only)
---
RFID Management
View and manage your registered RFID keys.
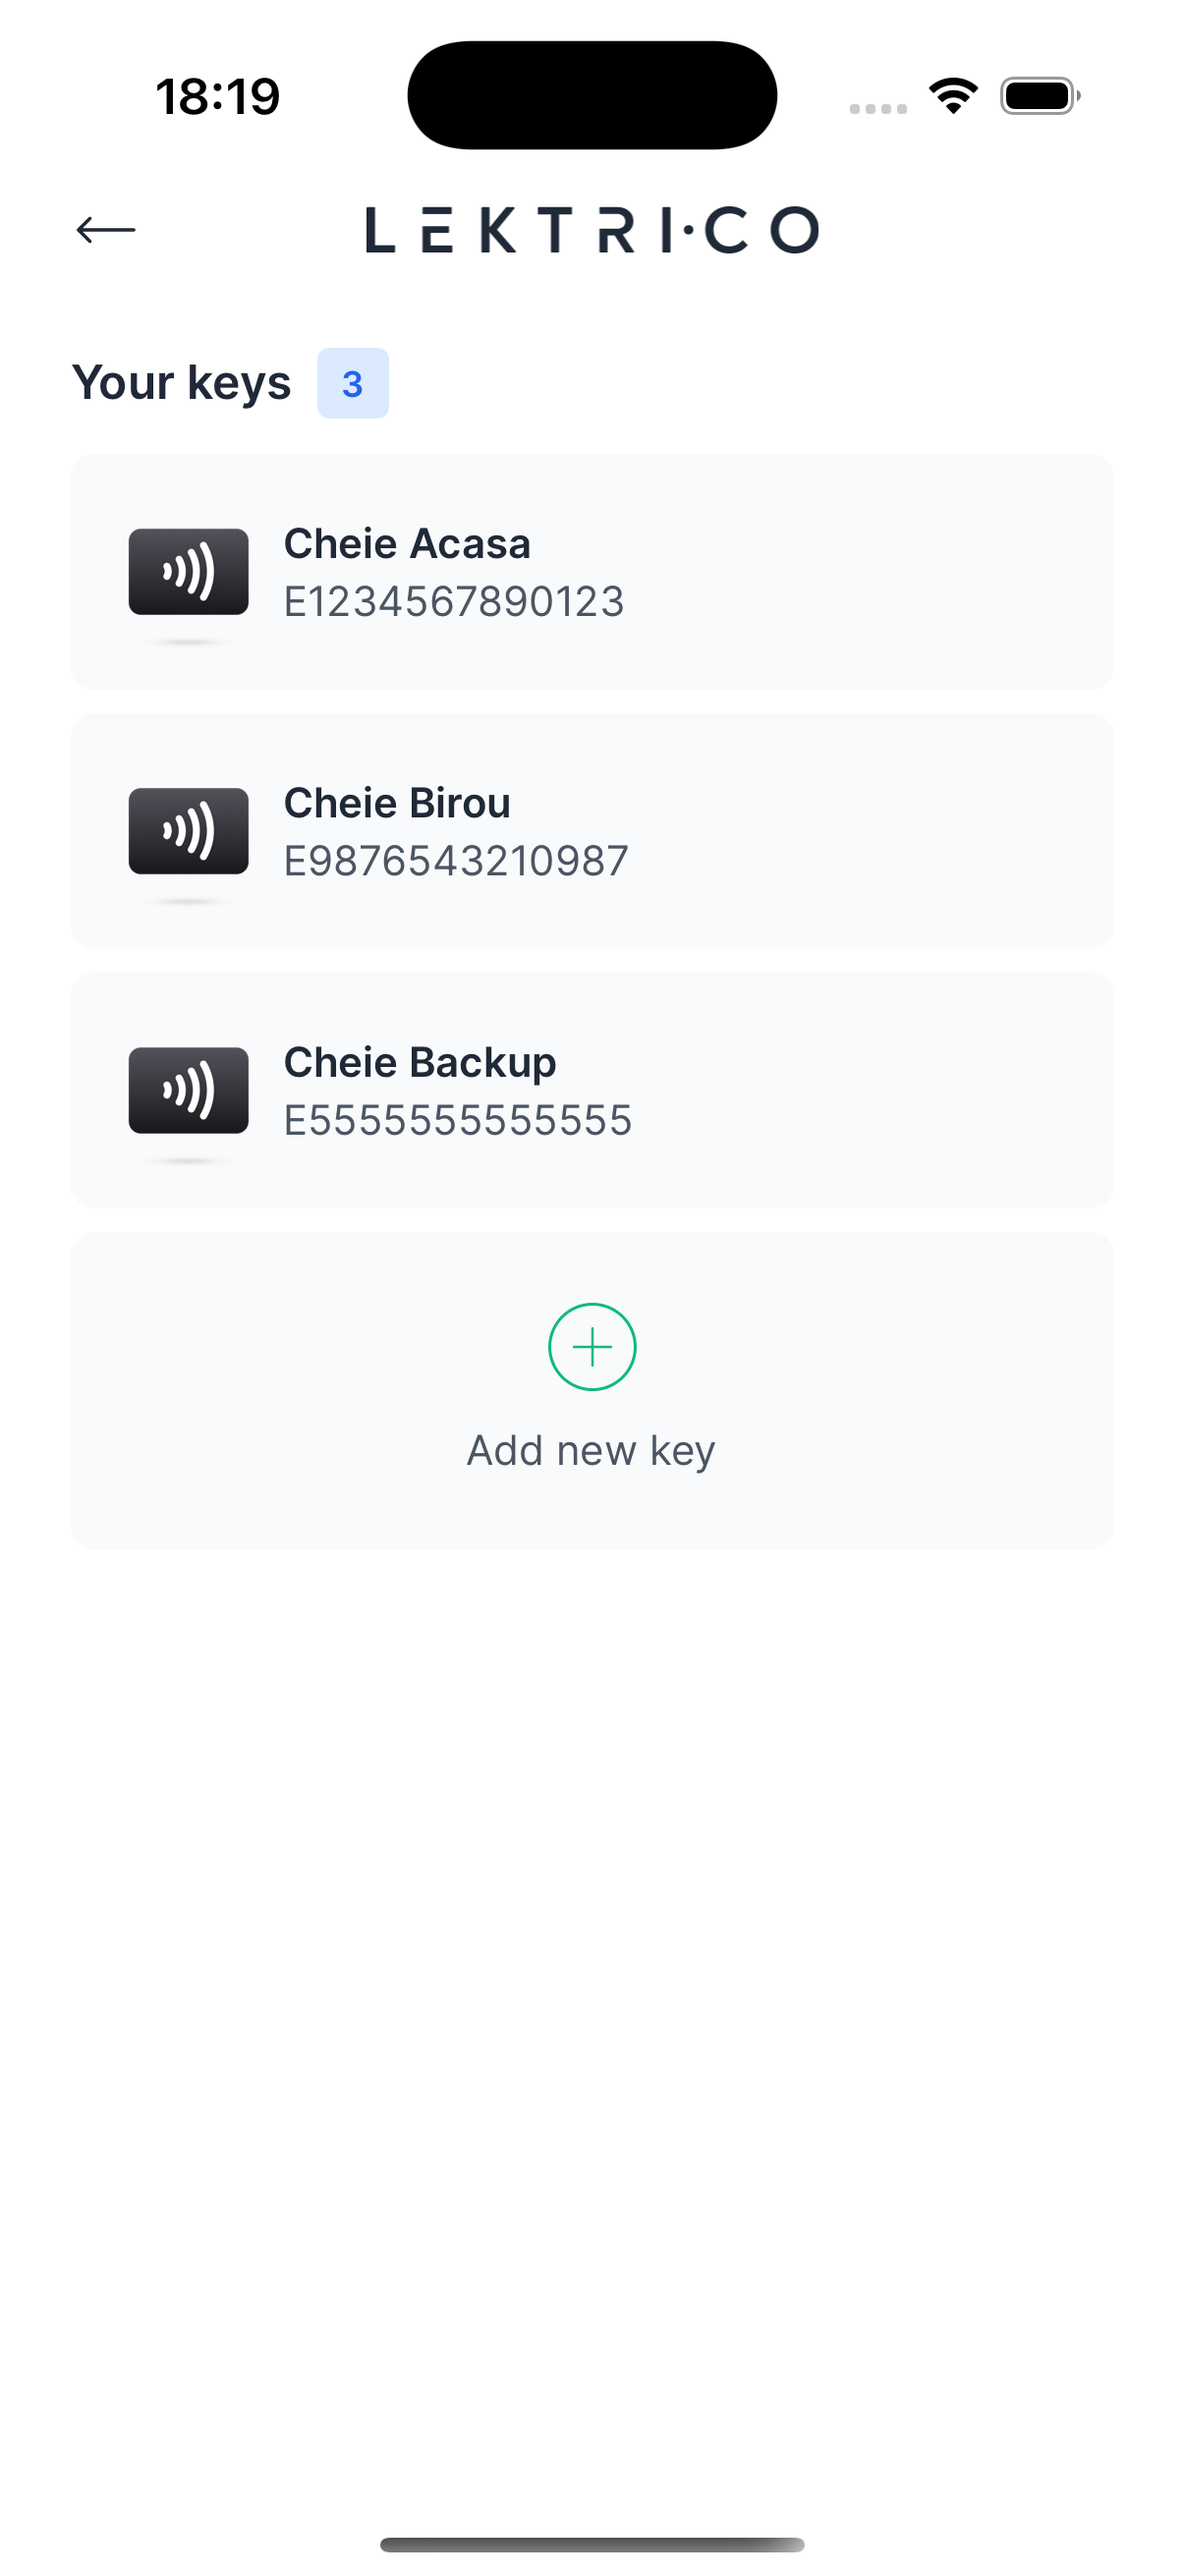
Each key displays its alias and ID. The badge count shows how many keys are registered.
Add a New Key
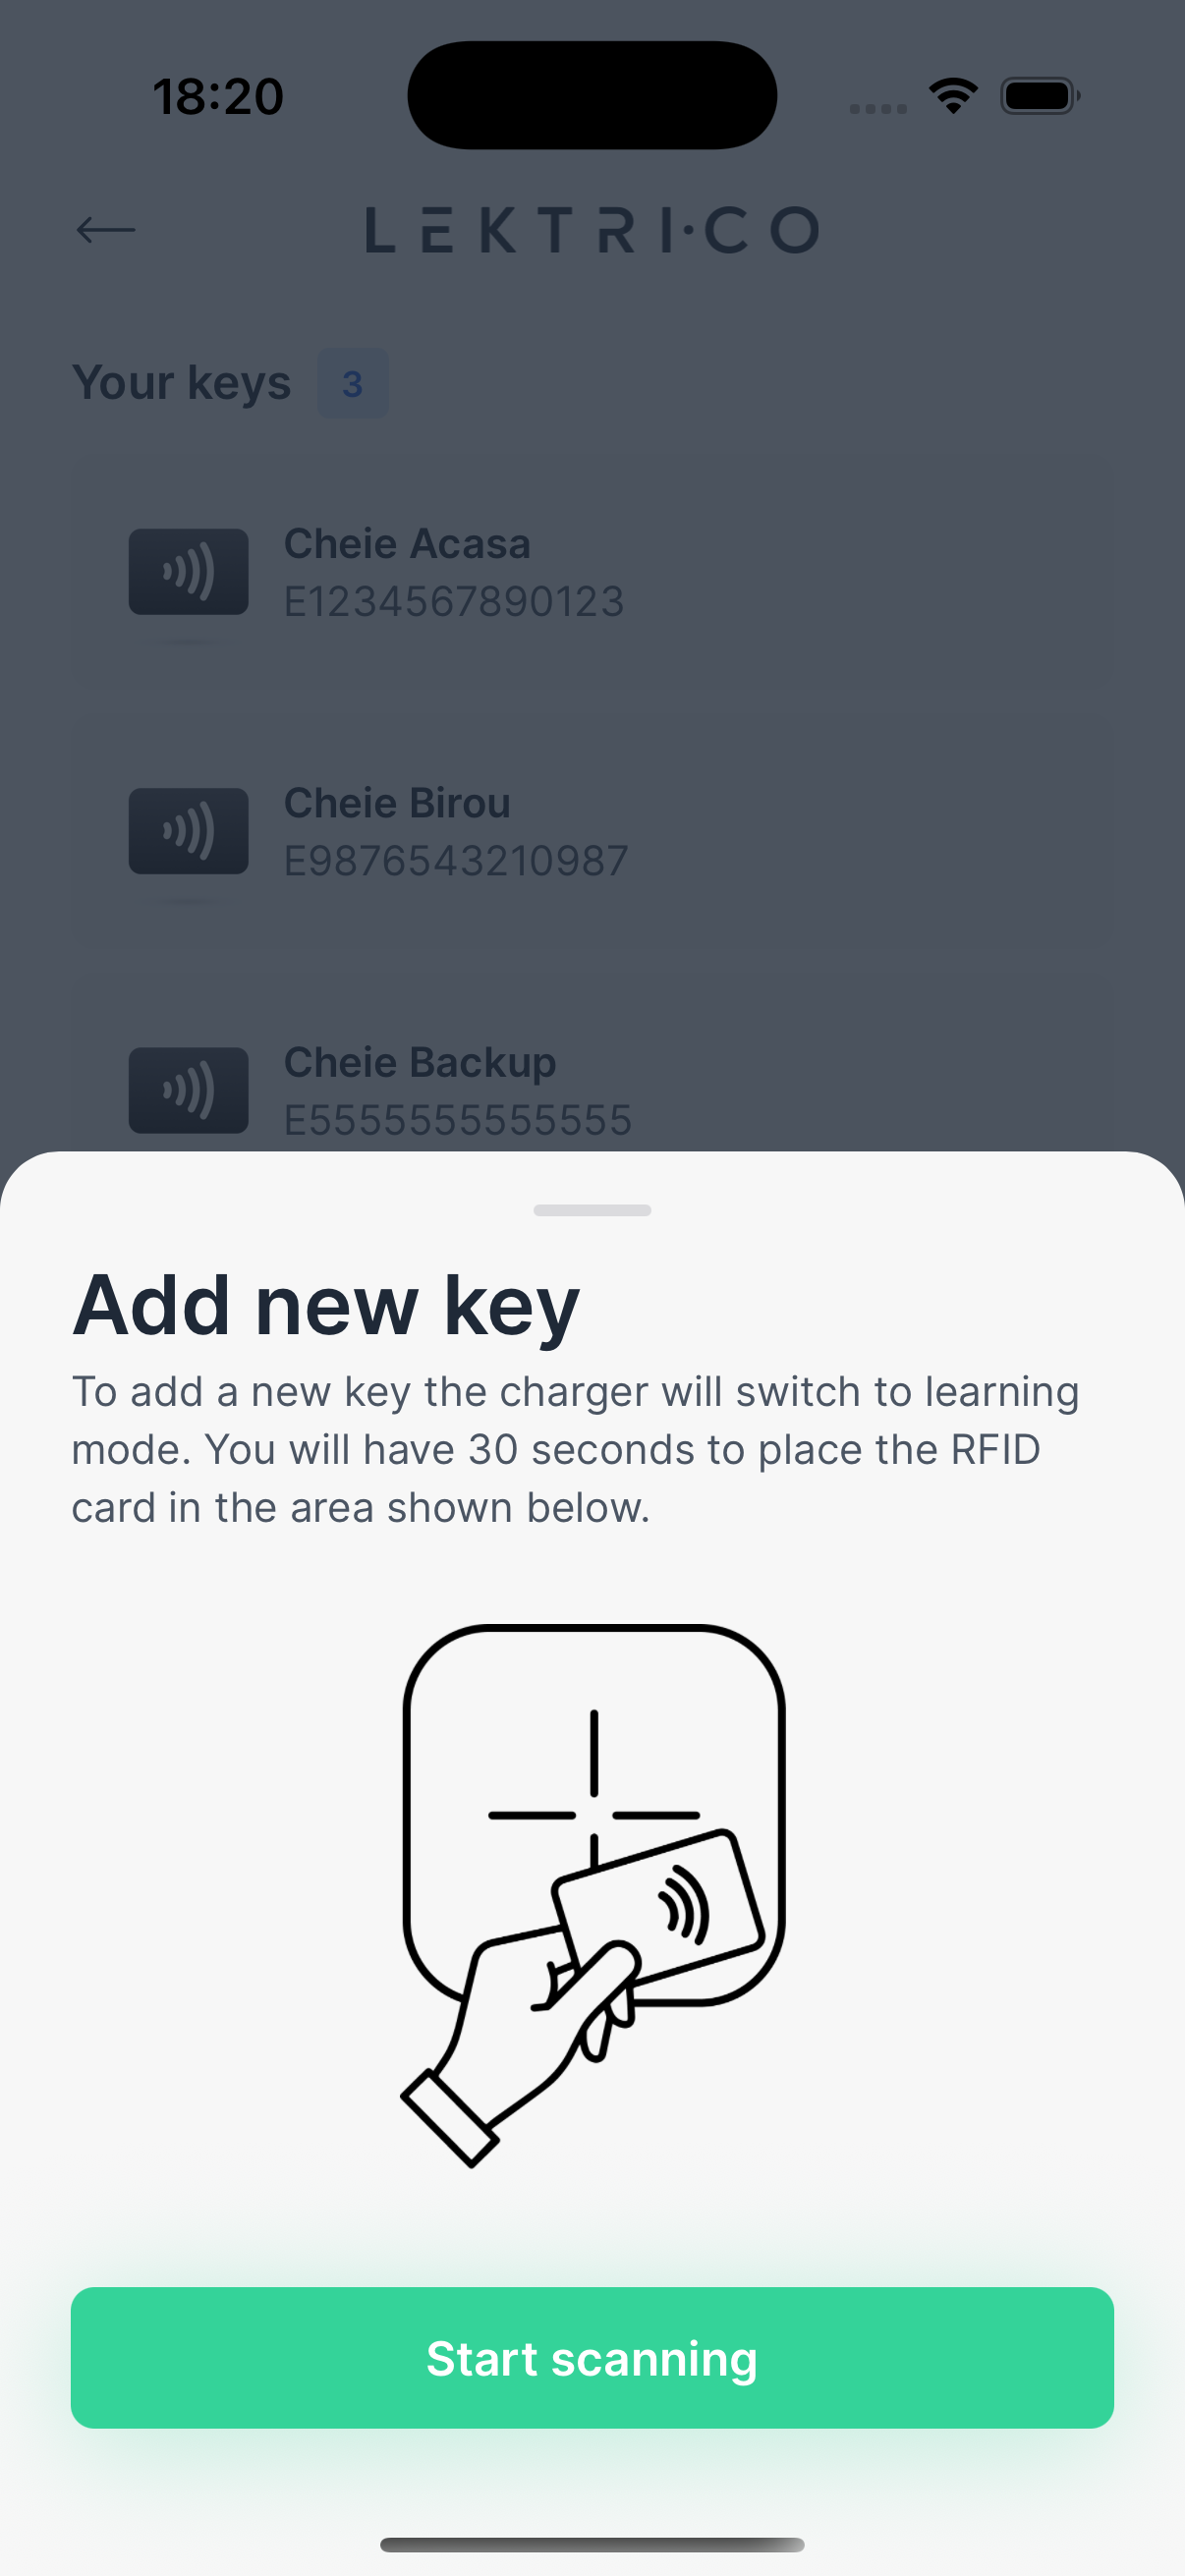
1. Tap "Add new key".
2. The charger enters learning mode — place your RFID card on the charger.
3. When a key is found, enter an "Alias" for the key.
4. Tap "Add key" to save.
Edit or Delete a Key
- Tap on a key to edit its alias.
- Swipe left on a key to reveal the "Delete" action.
> NOTE: NFC scanning may not be available on all devices. If NFC is not supported or enabled, you will be notified.
---
OCPP Configuration
Connect your charger to an OCPP-compatible management platform.
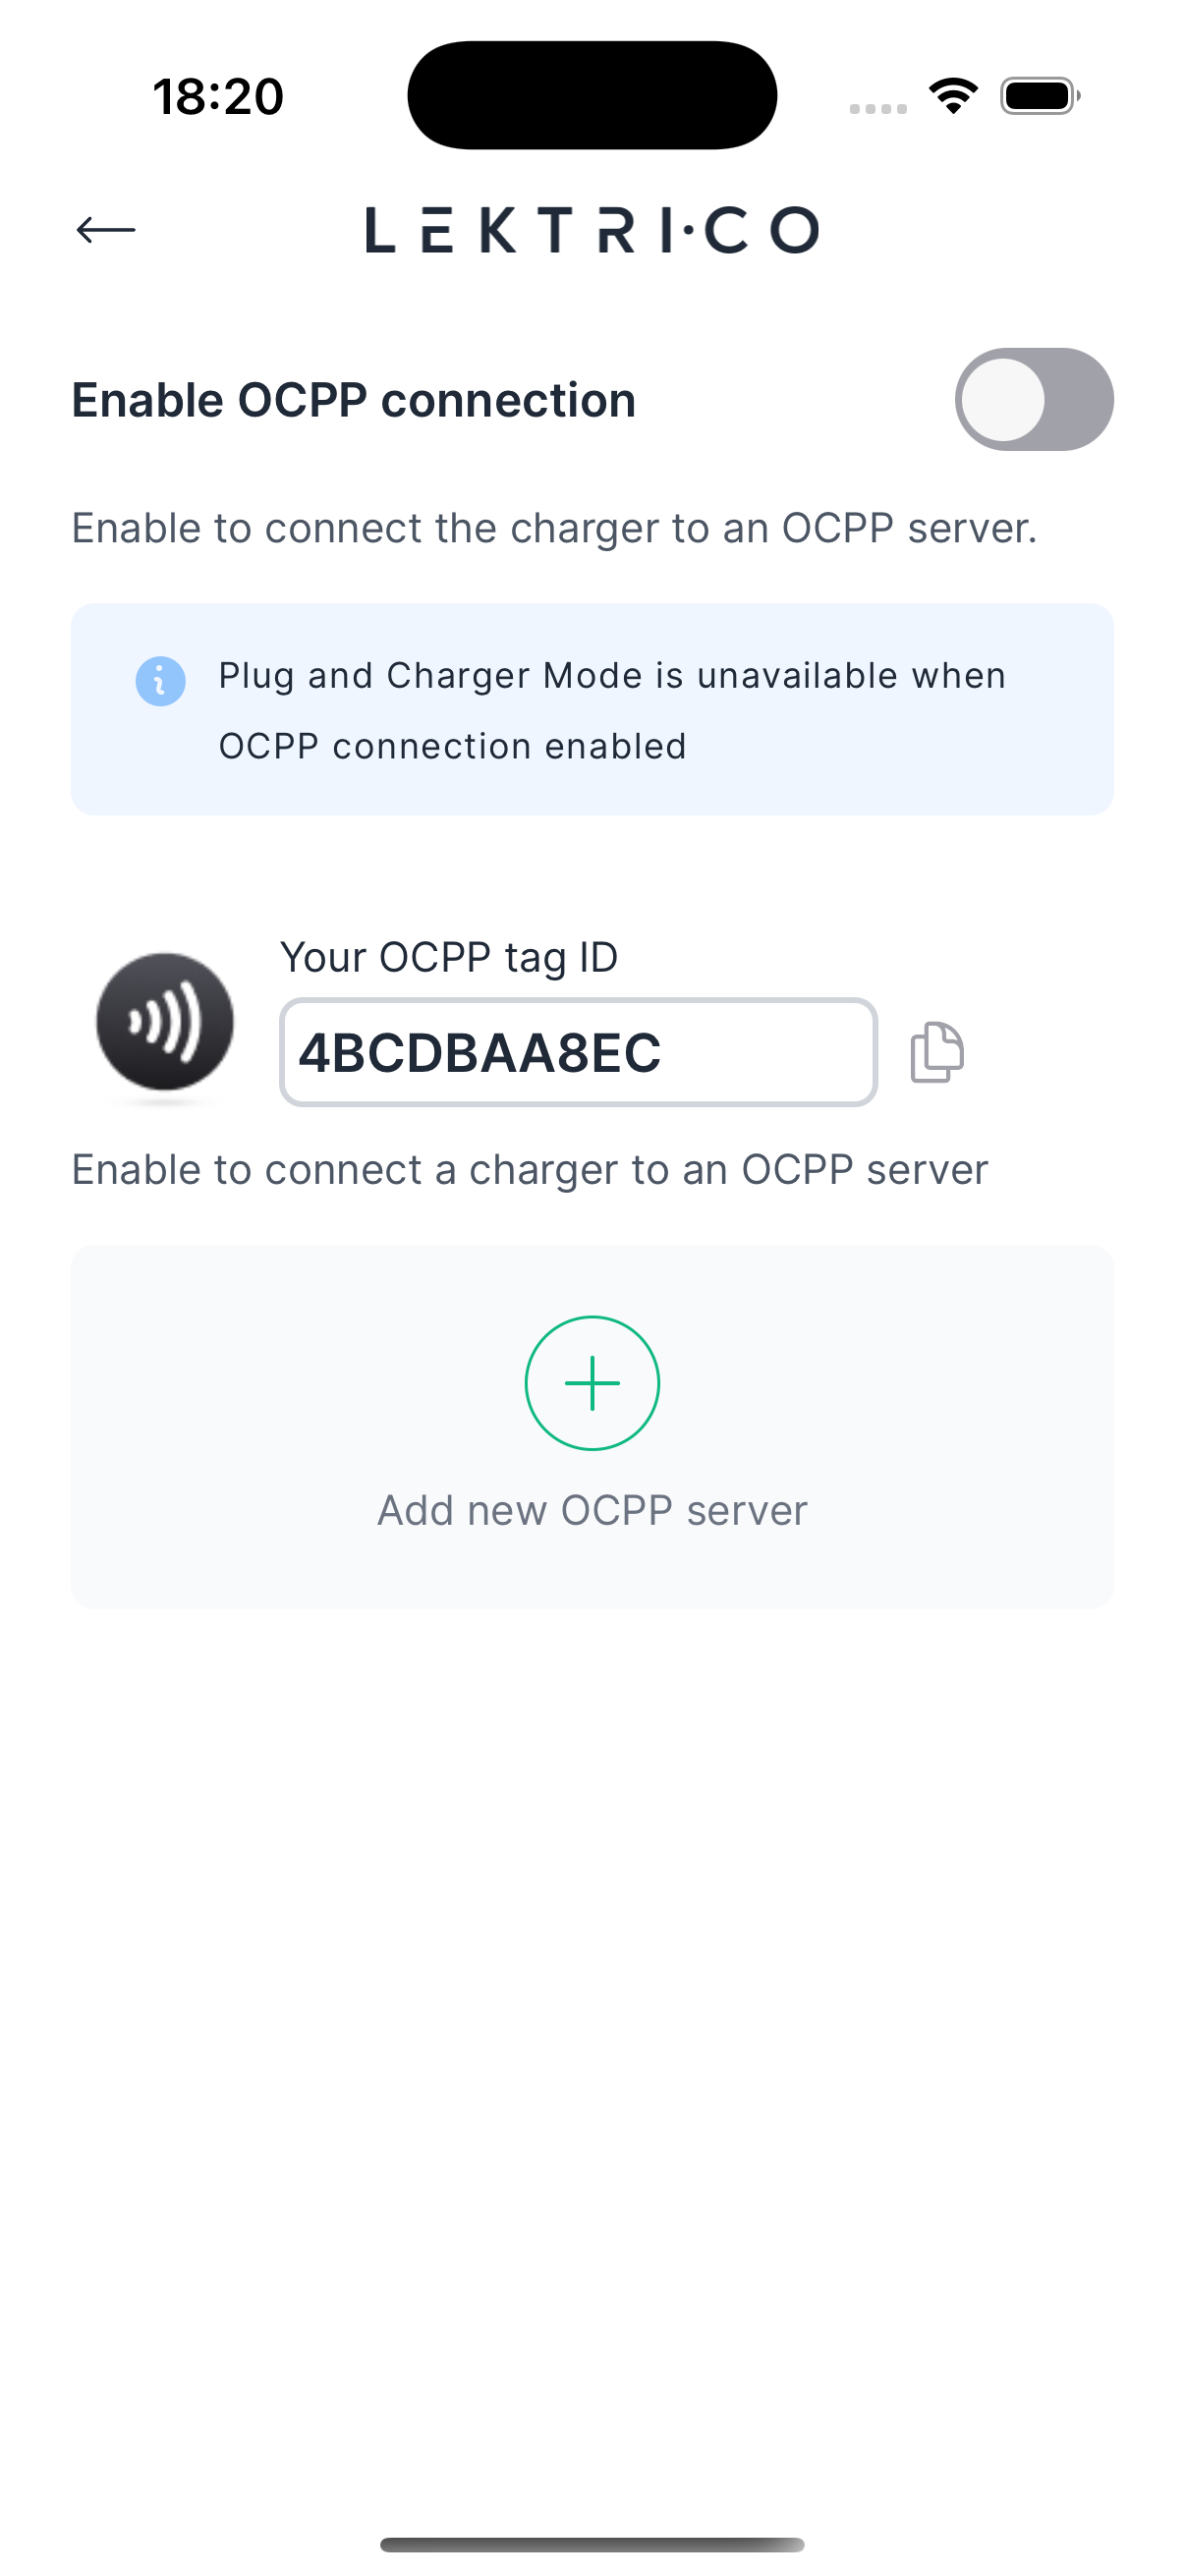
- "Enable OCPP connection" — Toggle to connect the charger to an OCPP server.
- "Your OCPP tag ID" — Your unique identifier for the OCPP platform.
- "Add new OCPP server" — Configure a custom OCPP server with a name and URL.
- "Edit OCPP server" — Modify an existing server configuration.
> NOTE: When OCPP is enabled, "Plug and charge" mode is automatically disabled.
---
WiFi Settings
View and manage your charger's WiFi connection.
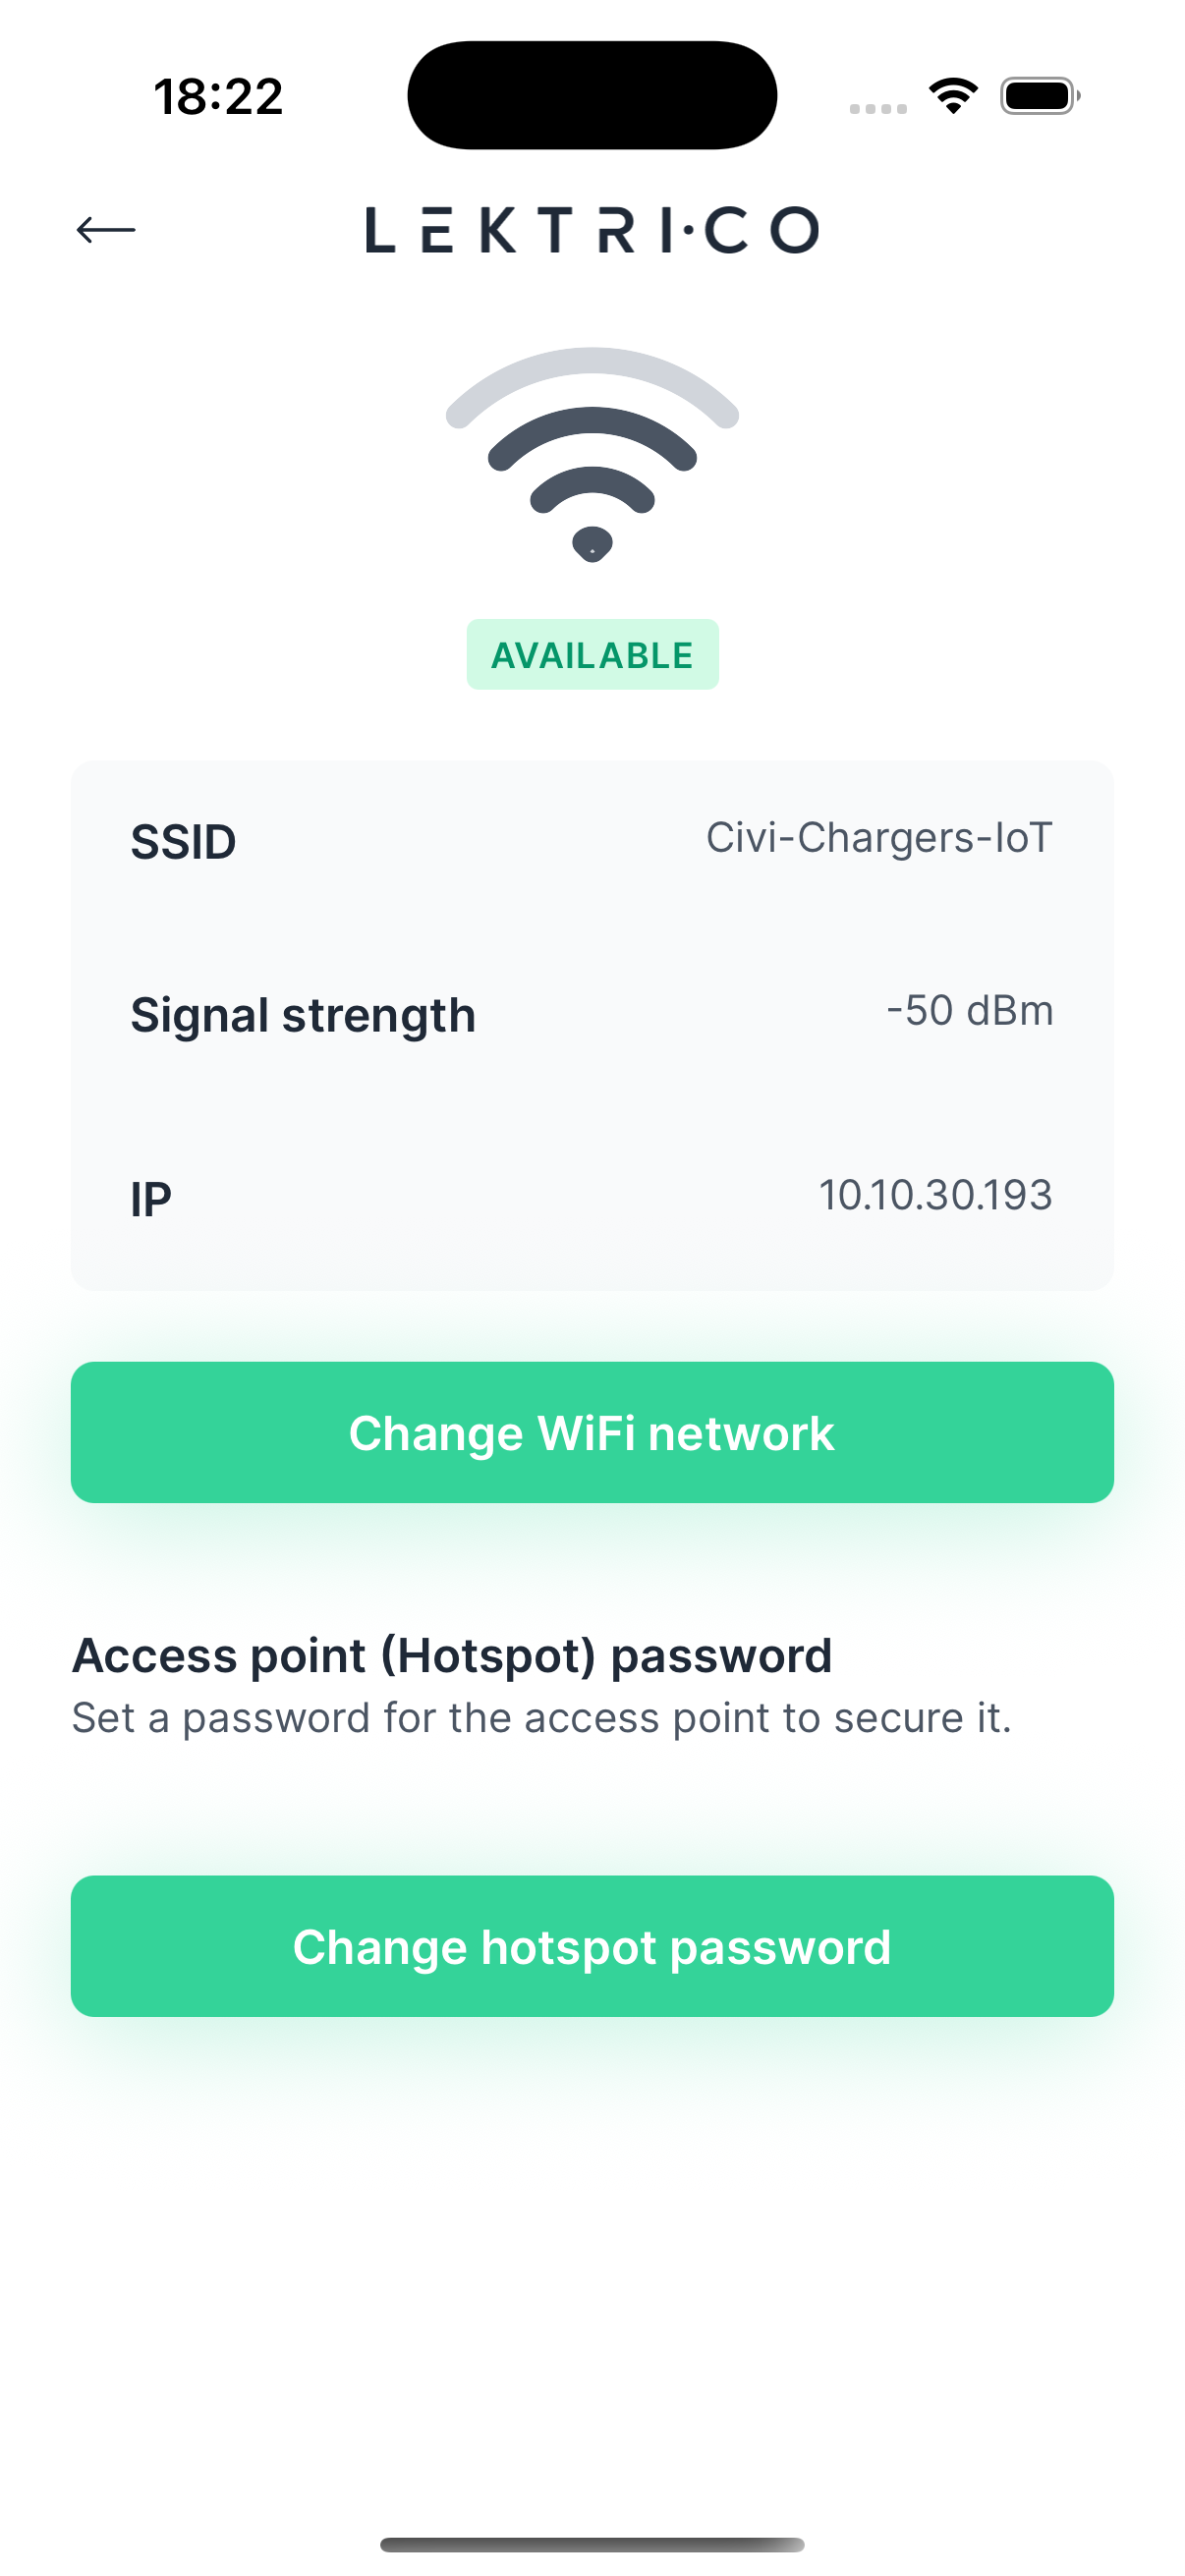
- View current connection: SSID, Signal strength, IP
- "Change WiFi network" — Connect the charger to a different WiFi network
- "Access point (Hotspot) password" — Set a password to secure the charger's direct WiFi access point
---
Charger Sharing
Share your charger with other users via their email address.
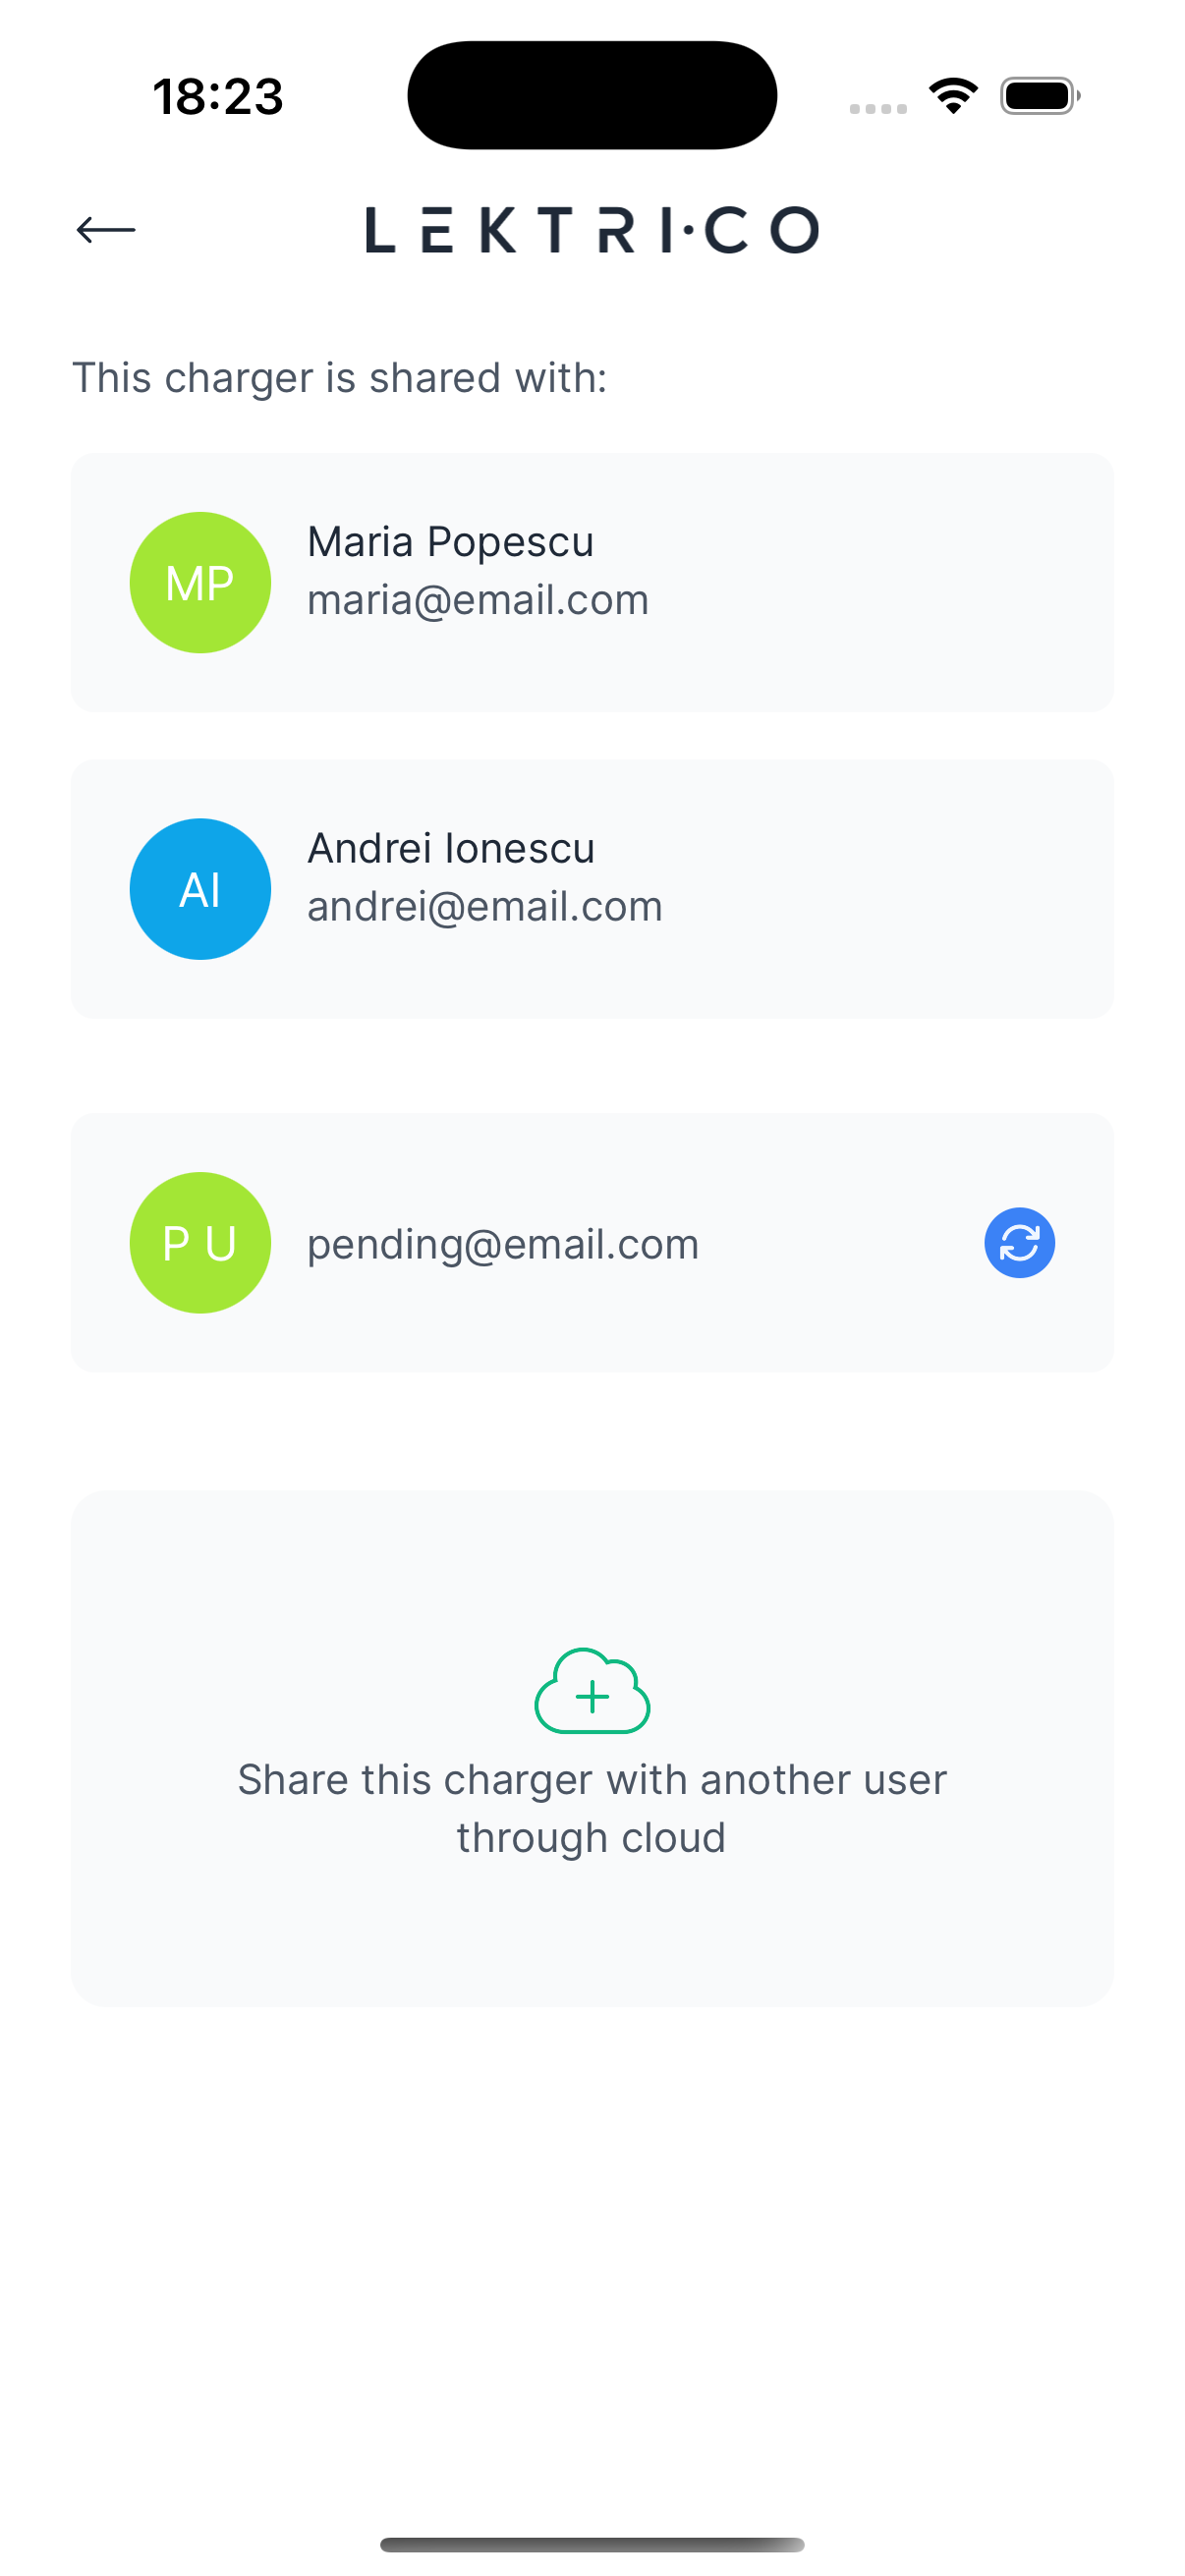
Invite a User
1. Tap "Invite user".
2. Enter the email address of the user you want to share with.
3. Tap "Send invitation".
Remove a Shared User
- Swipe left on a user to reveal the "Delete" action.
---
Change Station
Reassign the charger to a different station.
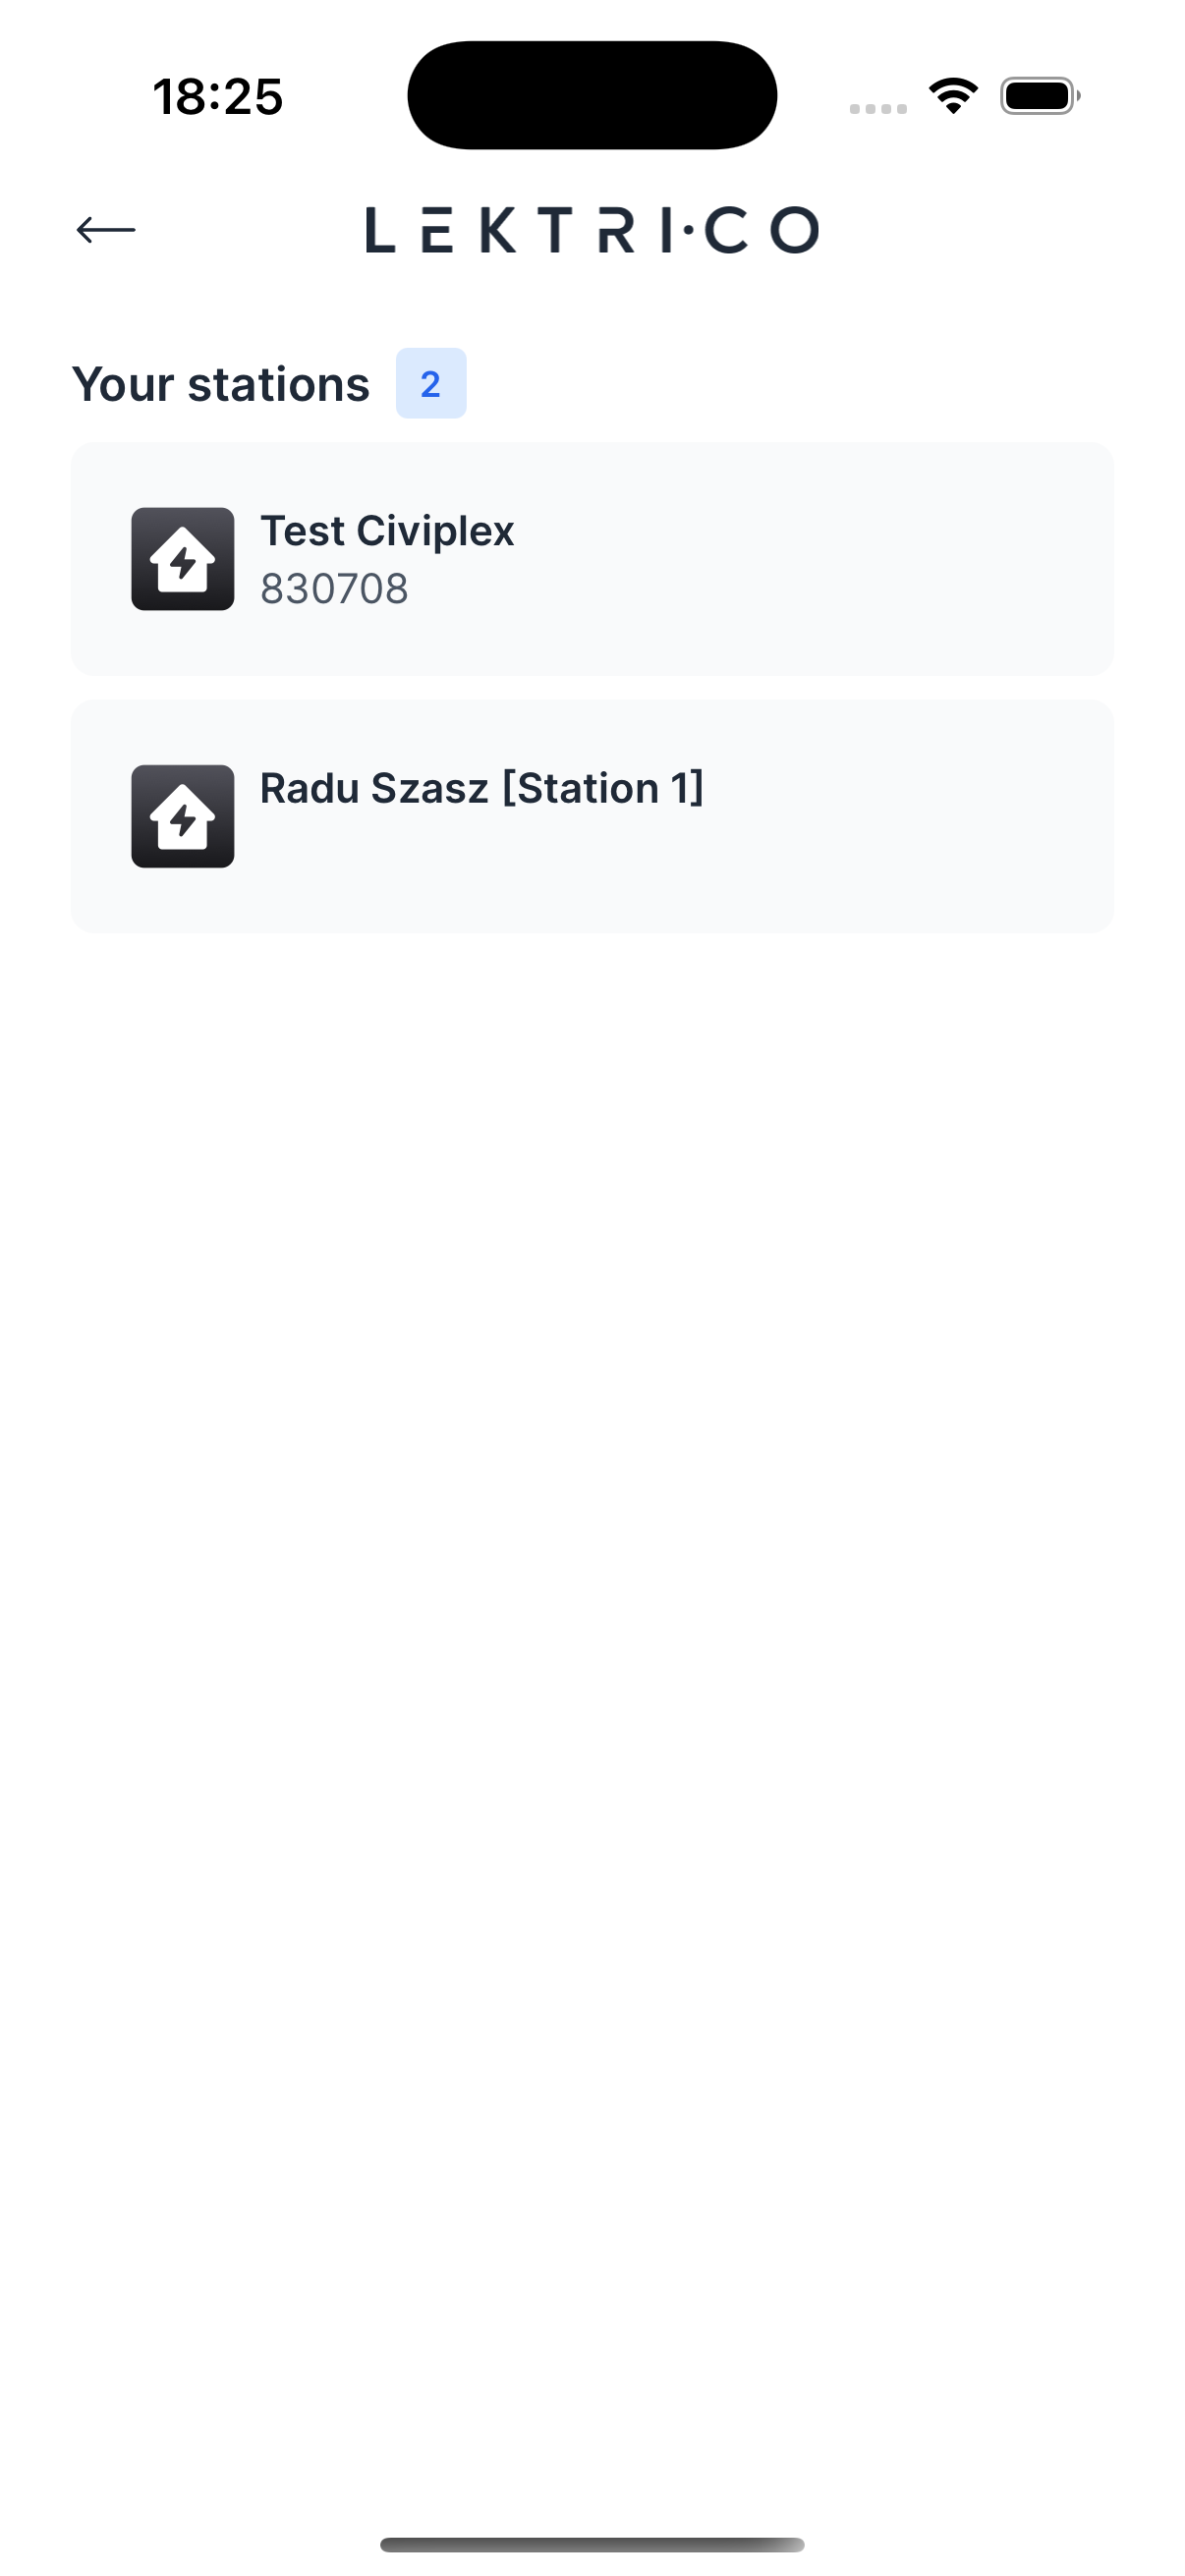
1. Tap "Change station" from the settings menu.
2. Select a station from "Your stations" list.
3. The charger will be moved to the selected station.
---
Installer Settings
These settings are restricted to qualified personnel.
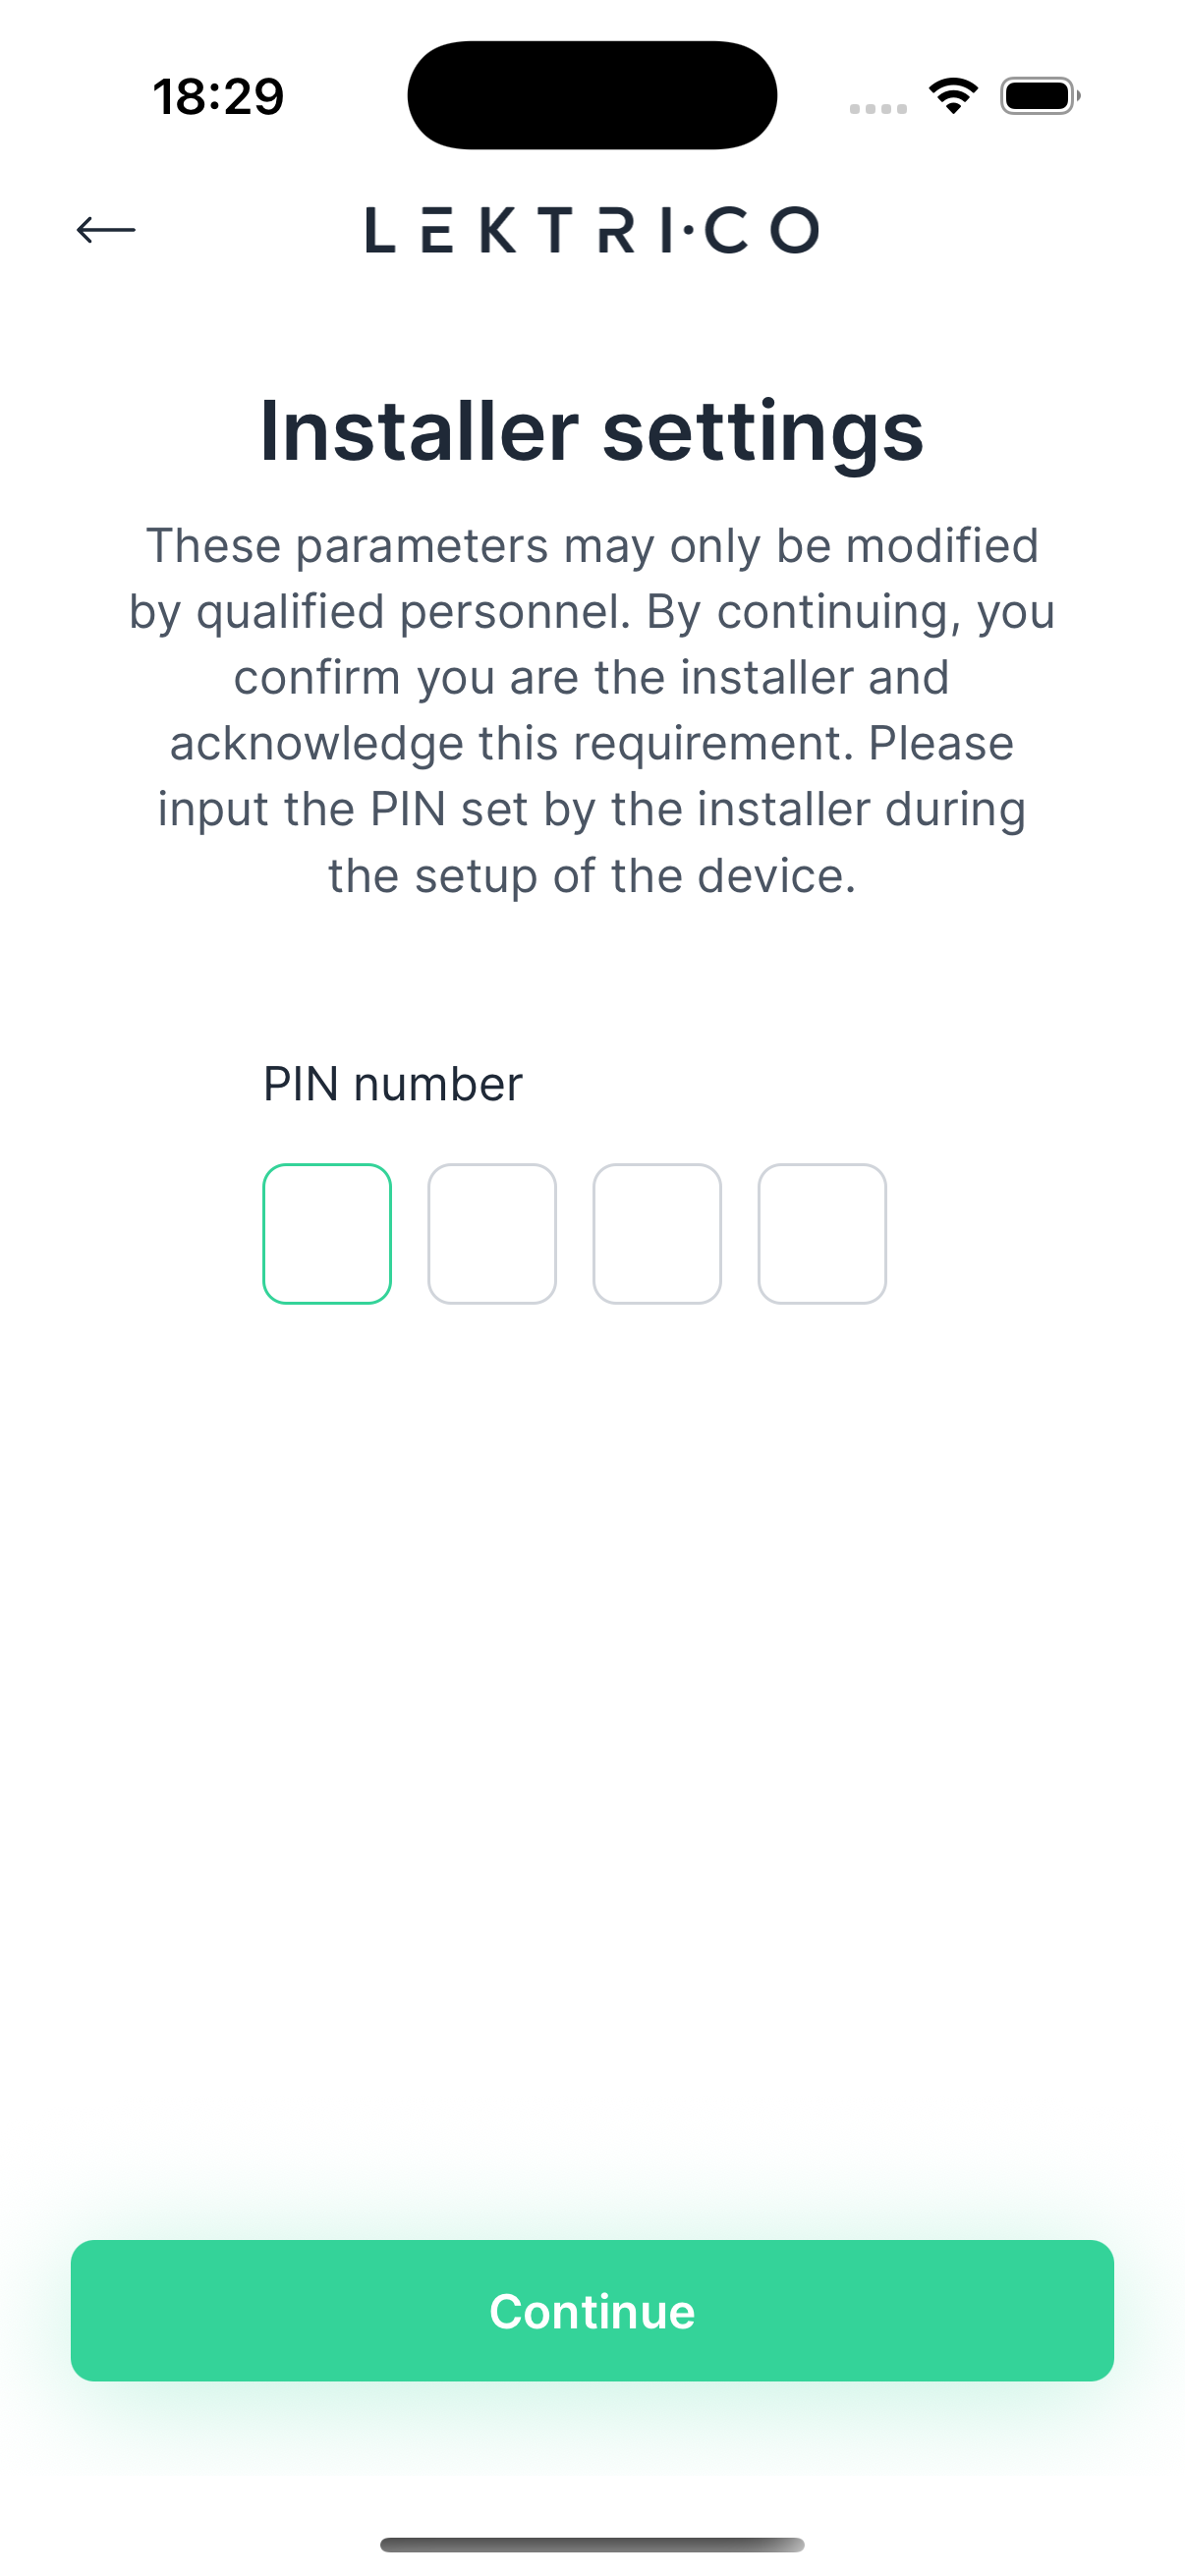
1. Enter the Installer PIN (set during device setup).
2. After verification, configure the following settings.
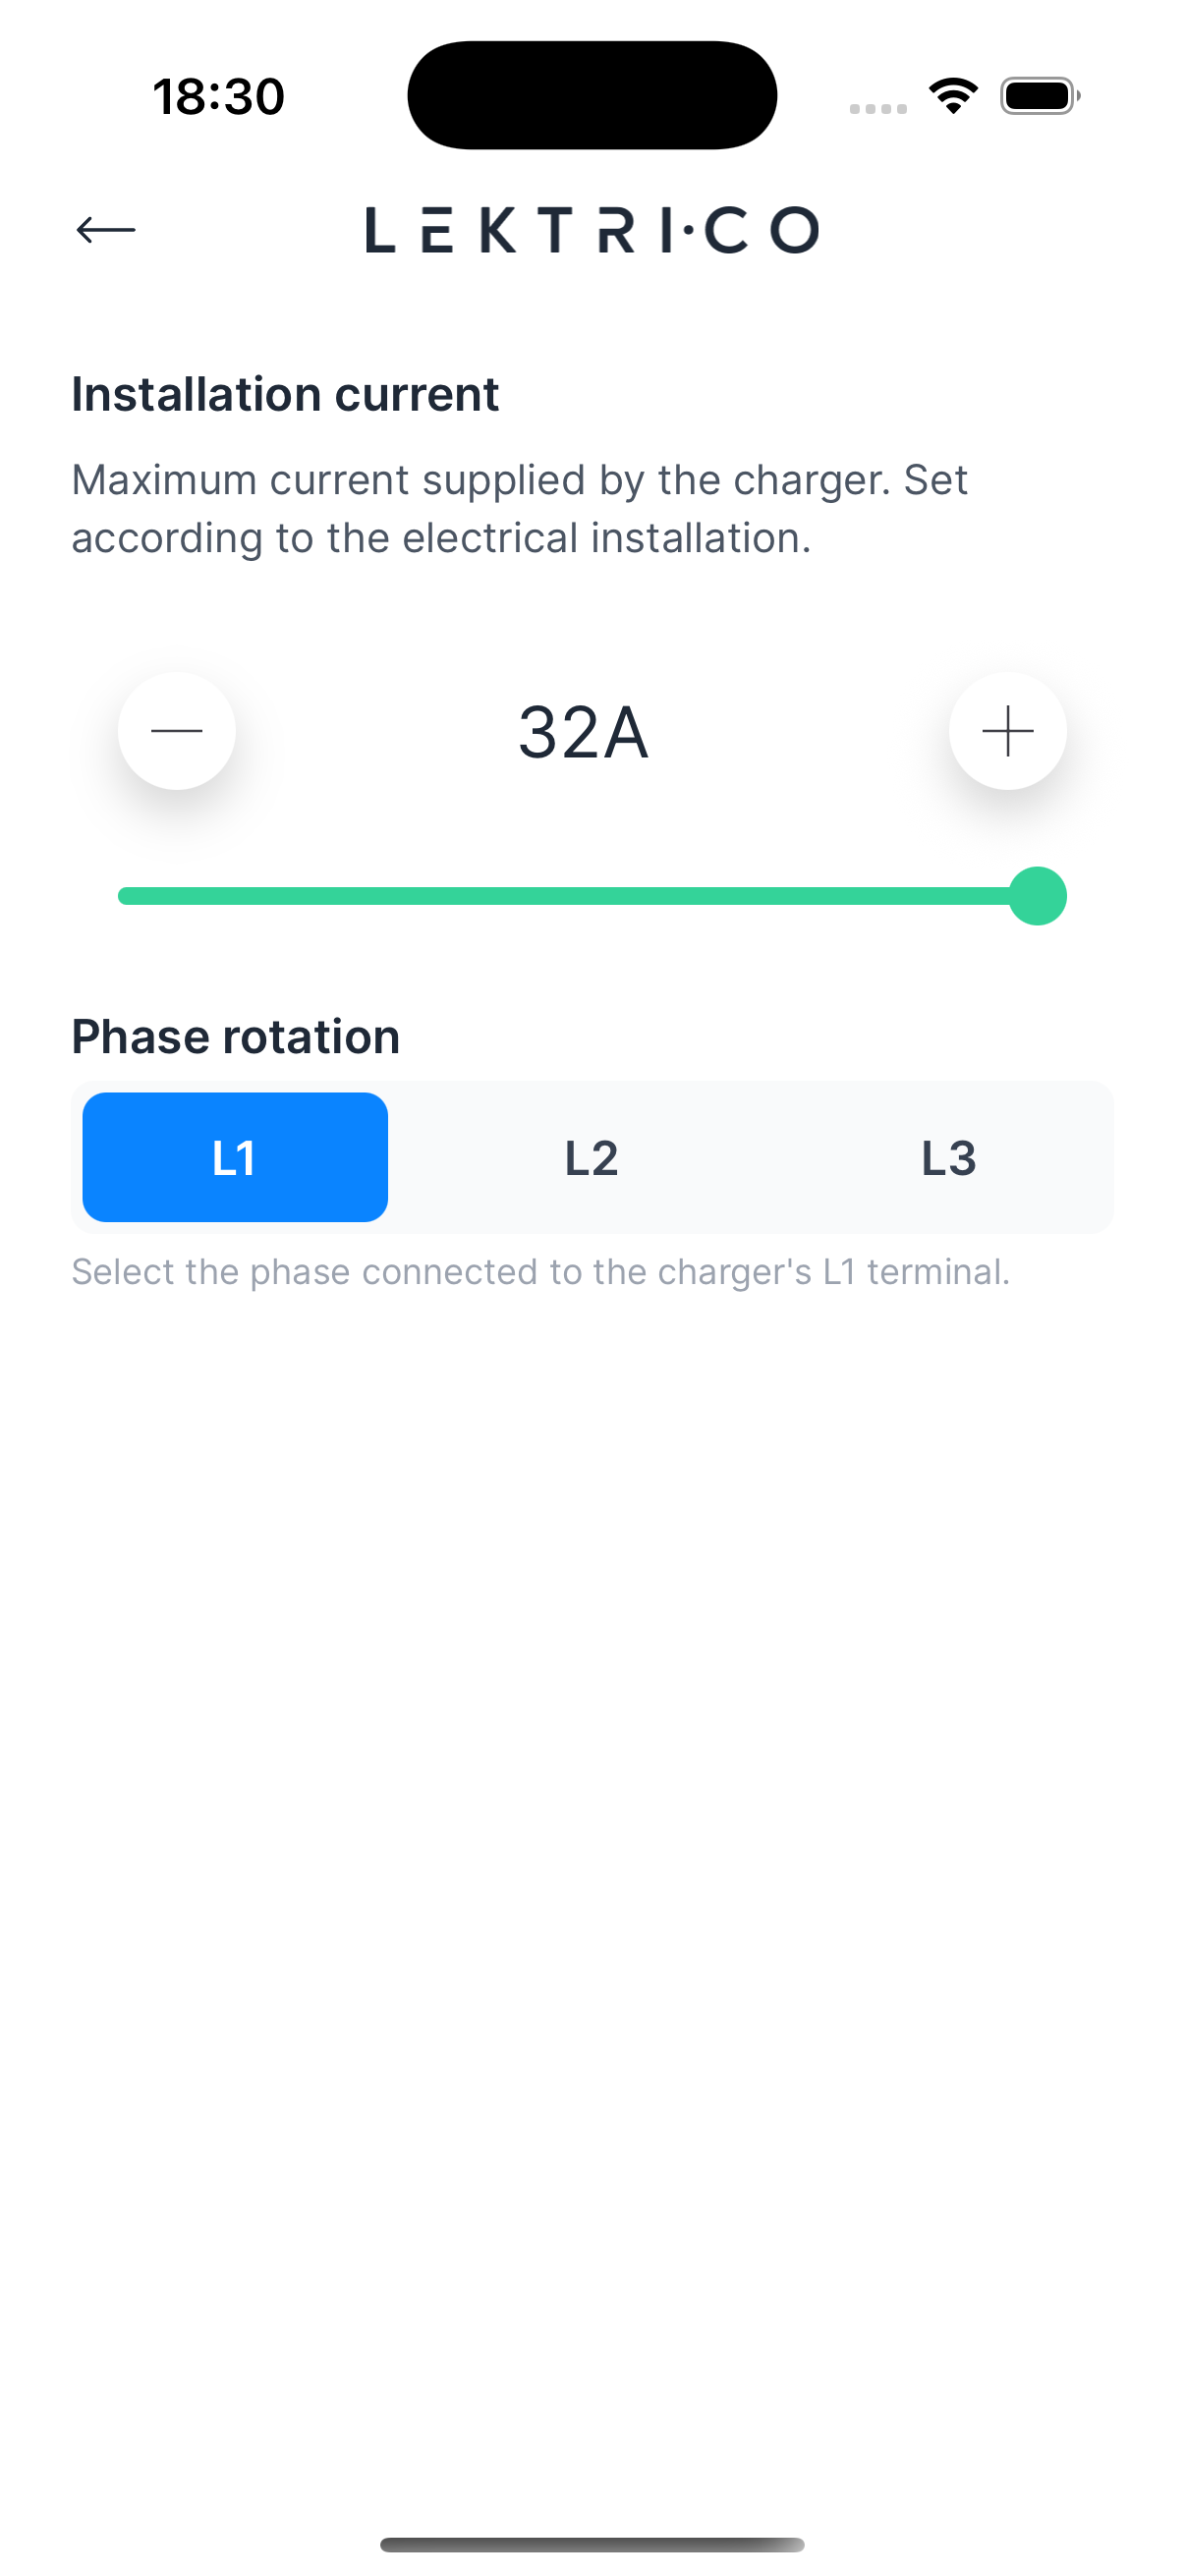
- Installation current — Maximum current supplied by the charger, set according to your electrical installation.
- Phase rotation — Select the phase connected to the charger's L1 terminal.
- Qualified person confirmation — Confirm the device was installed by a qualified person according to instructions and local regulations.
> WARNING: These parameters should only be modified by qualified electricians. Incorrect settings may damage your installation.
---
Advanced Settings
Access device maintenance and firmware options.
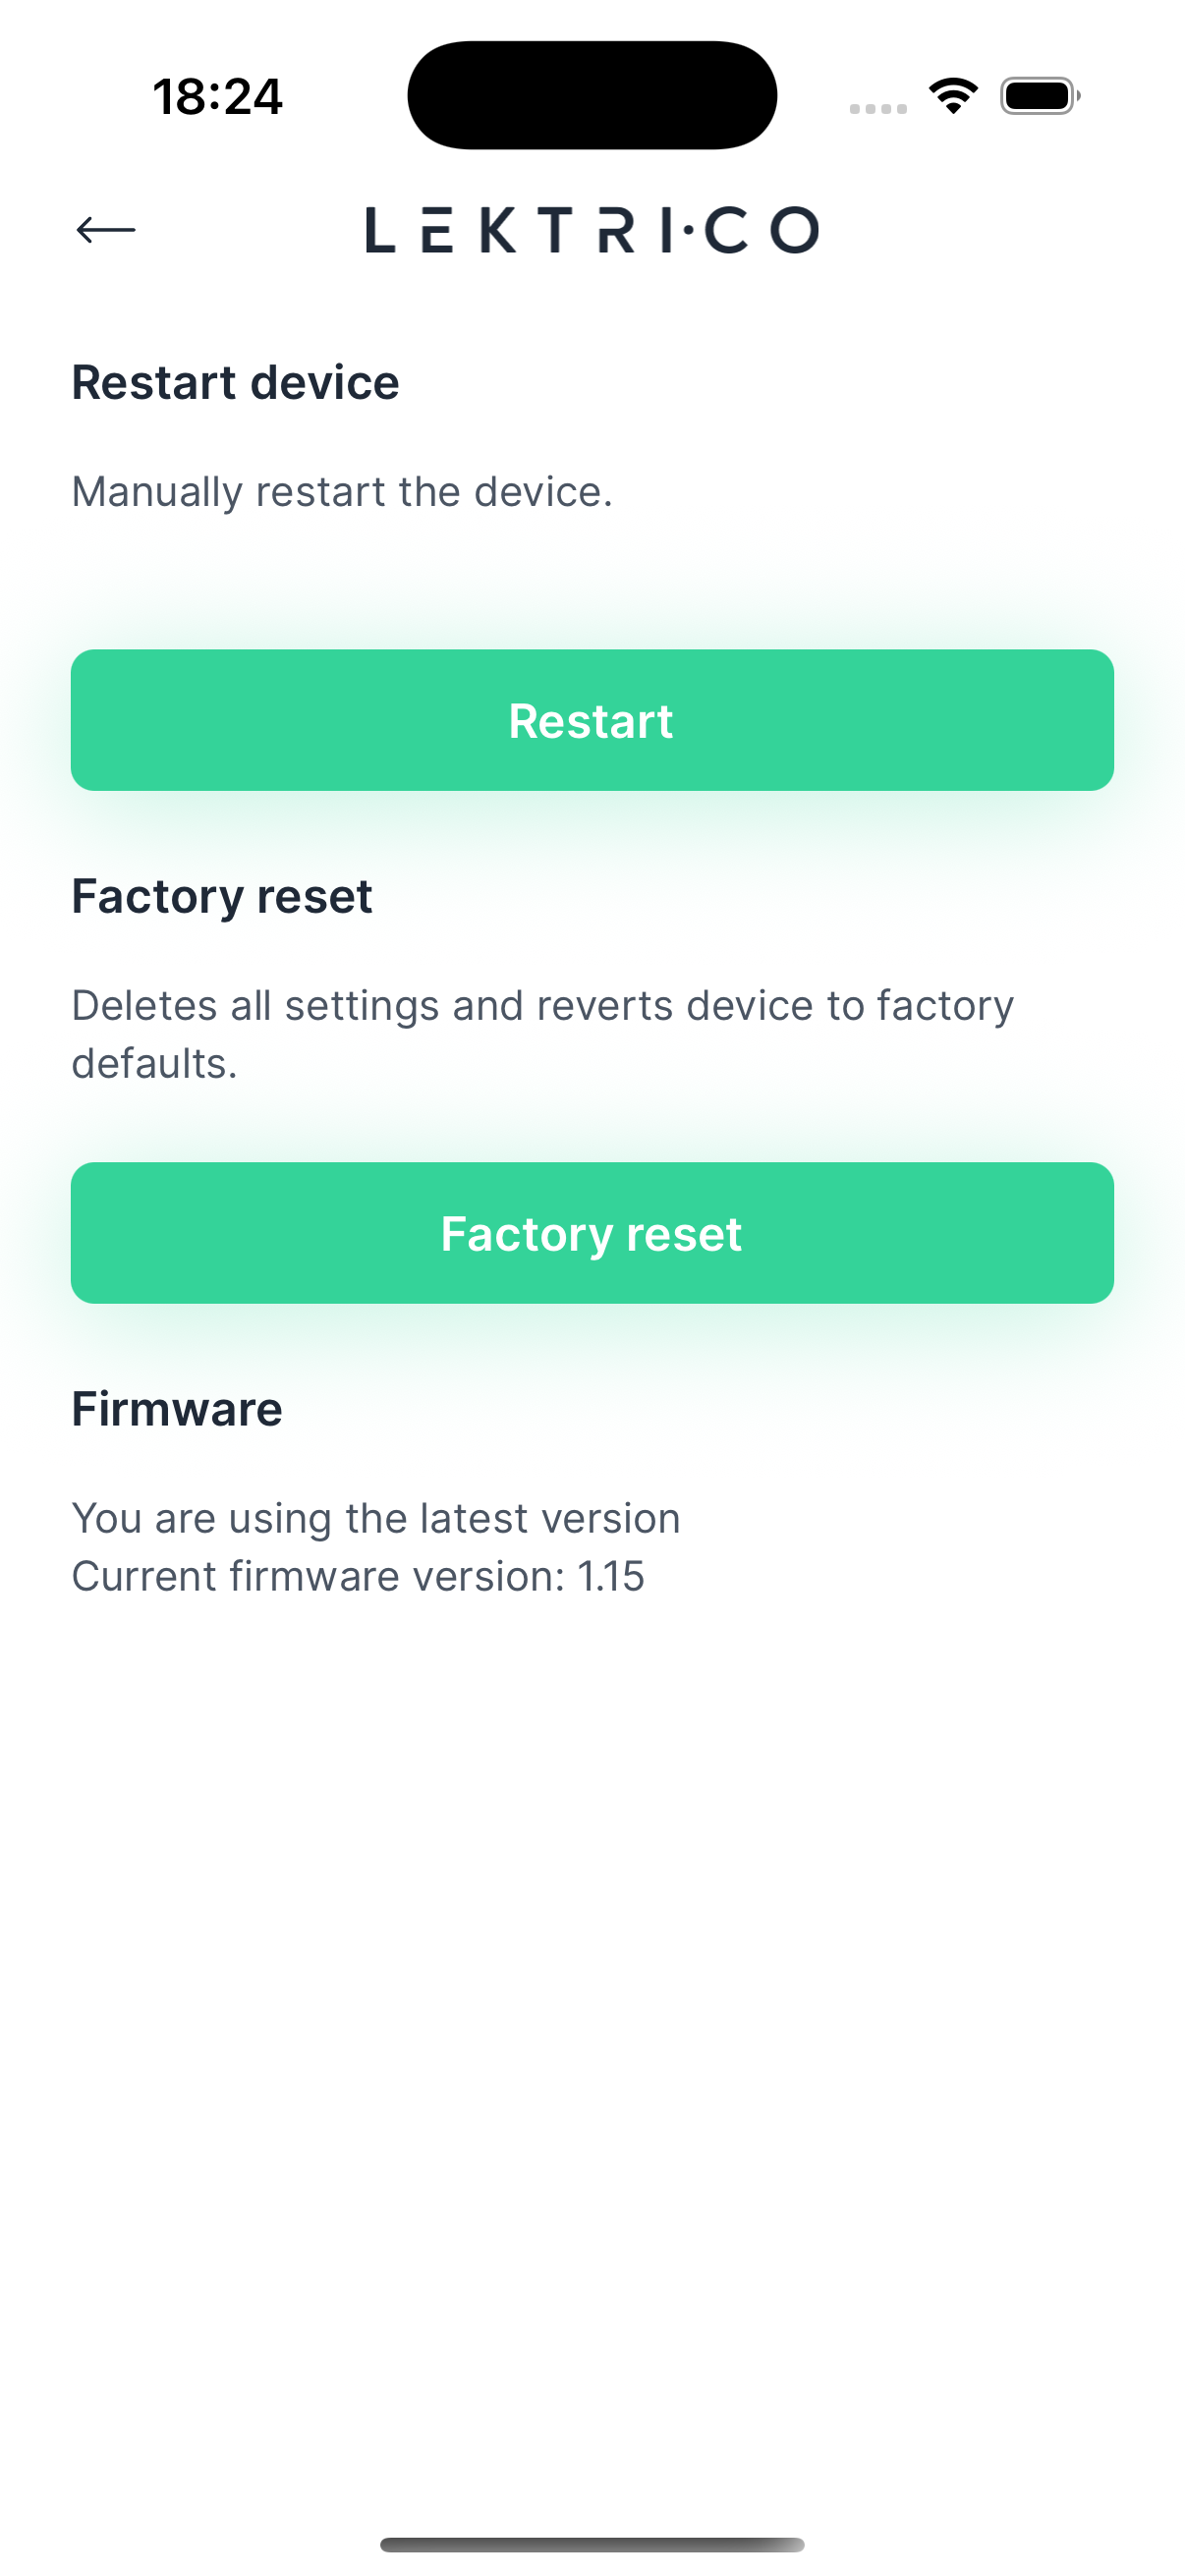
- Restart device — Manually restart the charger.
- Factory reset — Deletes all settings and reverts the charger to factory defaults.
- Firmware — Shows the current firmware version. If an update is available, tap "Update now".
> WARNING: Factory reset cannot be undone. All charger settings will be permanently deleted.